Showing posts with label Lords of War. Show all posts

19/11/2016

Armorcast Warhound #1 - 39


Banner is painted and on the Warhound.
Last step : the base.
I'm not good at it, but I'll do my best.

14/11/2016

Armorcast Warhound #1 - 38


Back to work !


I didn't post anything last week, I was with my children. As a divorced father, these times are more important than our Holly Hobby.


I created the banner as a mix from old v2 banners, with some Forge ref.


On top, you have the old Warhound symbol. Then the T for the titan legio, remixed with some pointy eighties flavor.
(yes, I'm a metal head)

I still need to paint it in red and black.


One big regret : I didn't use magnets when I created the banner support.
It's glued under the Mega Bolter, which means I can't remove it for transport. :-(

26/06/2016

Armorcast Warhound #1 - 24

Seems my last week post disappeared in the warp...

Last week, i was finally done with the greenstuff on all the warhound parts.


Or so did I think...
I undercoated some parts and, when it dried, I discovered a bunch of tiny holes and flash lines I didn't see before.
[Cries out loud]


I took some minis plastic filler and used to fill all the holes in could see now.

I'll go back to bases colors when I'm done with the holes filling stuff for the second time...

01/06/2016

Armorcast Warhound #1 - 23

Hi all

I'm not dead, neither did I let it go. ;-)

When I said I was ready to be back on tracks, life just laughed and sender me more lemons than I needed.

Now then sh*the storm is, almost, over, I worked on the warhound.

I added some more greenstuff on the warhound. 

Sand papered it. 

Next step, finishing the Base and... undercoat !


08/03/2016

Armorcast Warhound #1 - 18

Last researchs for the banner.
I need a break.

I'll work on the base and, as soon as the paint can are here, it will be brushes time !

29/02/2016

Armorcast Warhound #1 - 17

Drawing some sketches for the warhound's leg design.

The princeps' emblem will be a unicorn, on a blue circle.
(I'm totally in unicorns, sorry)

Now, back to the banner's design.

20/02/2016

Armorcast Warhound #1 - 16

 The more time I pass working on the warhound, the more I feel it needs to be a Rogue Trader inspired model.

As I know I'll get an apocalyspe Death Guard Pre-Heresy army, I decided to take this warhound back in time and paint it with an 80's color scheme and RT's time marks and identifications.
On the left, last tries and redo for the banner.


It'll be a killing banner.

Divided in two equal parts.

  • On the left, keep it white except for a Moon Knights symbol recall.
  • On the right, a pattern for the kills.

The blue round with a unicorn is the Princeps insignia.

14/02/2016

Armorcast Warhound #1 - 15


Shield generator fabricated, glued and ready for the paint.

And now I placed the banner support to the backwards position, I need... a banner.

I'm working on it, as you can see on the left.

09/02/2016

Armorcast Warhound #1 - 14

Now the superbowl is over, I can finally post.
(even if I'm french, I was in front of my tv to watch it !)


I decided to add a shield generator to the warhound.

It will be inspired by the Knight Errant, still in WiP.


On the left, some sketches to get it right.
I'm not far away from the final form.


As you can see above, I prepared a paper form before cutting the plastic.
It help to see the generator IRL. Almost.
Finally, the generator will have a diamond shape, and will be smaller.
 
Last but not least, the banner will be moved backwards.

01/02/2016

Armorcast Warhound #1 - 13

Working on the banner's chains.

I used .8mm chains.

Now I need to find the best length.

25/01/2016

Armorcast Warhound #1 - 12

Now I'm done with the banner support on the mega bolter, I wandered on the net.
And I saw this heavily modified warhound.
The amount of details added onthis titan is impressive and it gave me ideas.
One Games Workshop barrel cuted in half, some plastic card later, et voilĂ .

17/01/2016

Armorcast Warhound #1 - 11

I was productive this week. 

First : magnets under the right foot are done ! 
Three 5 mm magnets will help to keep the warhound up, while I didn't decide what I'll do under the left foot.

Then, I added some banners.
And that didn't fit.
At all.

I decided to cut the width by half, and to keep the pointy one.

Problem was, with the new width, banners didn't fit under the Mega Bolter anymore.

I decided to add some protection
to the underside. 

Slowly and very carefully, I removed enough resin to allow the new 85 x 4 mm plastic card part to fit in.

It's thickness is only .3mm, which isn't enough.
I'll try with a .75mm and I hope the result will be better.

07/01/2016

Armorcast Warhound #1 - 10

Hello everybody, I'm back.
Sorry for the delay, seems my last post didn't on the right blog, 
and I hadn't the internet nor the PC for a long time so... I'm sorry for this delay.

Good news are good : I'm back on tracks for the warhound.


Both arms and rear alimentation and command racks are done.
It took me time, try and error, do and undo...
But it's finally done.

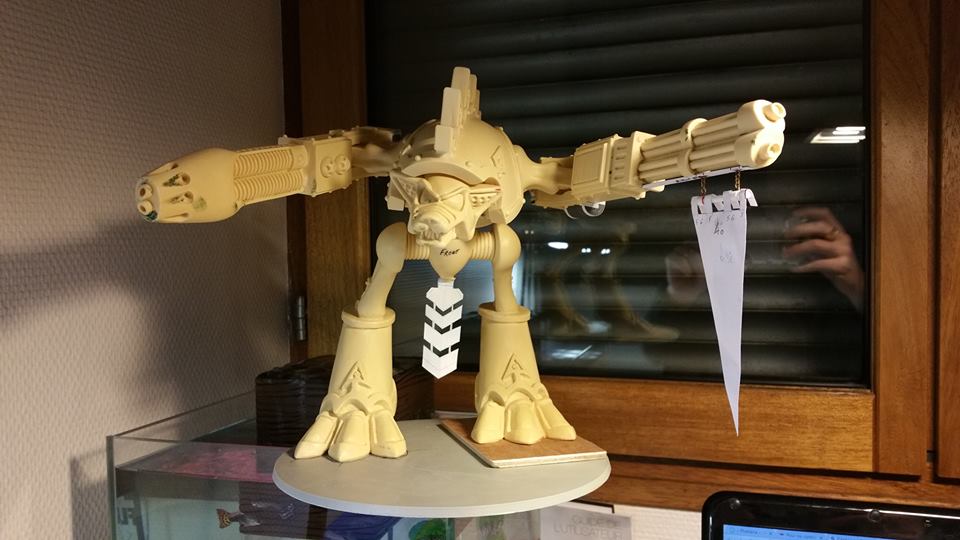
I magnetised all the panels, to make it easy to remove and transport.

10/12/2015

Armorcast Warhound #1 - 09

More details.
 Right side : added some cooling elements.
Left side : the other cooling elements.

29/11/2015

Armorcast Warhound #1 - 08

Still working on the warhound, one problem at a time.


Because everything was back to parts, I decided to use some liquid greenstuff to fill all those tiny holes in the old lady. 
And, Emperor's Holy Throne, there are many !

The two white plasticards on both sides are where I'll modify the warhound and add some more cables.

Two will be "little ones" : command and power for the arm.
Another one, bigger, will be added to the plasma gun.

24/11/2015

Armorcast Warhound #1 - 07


I'm late for this week's post.
Due to the bad events last friday the 13, I passed most of my time with familly and friends, laughing, eating and drinking.
In two words : feeling alive.


As you can see, the old lady isn't standing on its legs anymore.
After some reflections, I decided to add power and command cables to the arms.

Which means I need to add some plasticard details on the rear and the arms.

One step forward, two steps backward !

And my workplace is a mess. Again.

13/11/2015

Armorcast Warhound #1 - 06

The base is epmpty, but it won't last.

Armorcast titans are oldies.

And it means you have to adapt and be creative when you need your "mini" to be transportable.

I had to put some greenstuff in the legs holes to be able to put the 5mm magnets in the right place.


I'm proud to announce she's able to stand up !


As you can see on your left, the warhound's head isn't pointing at the horizon.
As a titan, this walker's equipped with two guns. If the head was at the same level than its arms, the crew won't be able to see on the right, nor the left.

...

Now I'm, almost, done with the legs, let's work on the arms.

08/11/2015

Armorcast Warhound #1 - 05

Still working on the warhound.


Now I'm digging holes, no more sand paper. Which means, no more dust.

Let's have a close up on the holes.


There are two, and you can see they aren't centered.


The upper one's here for a swing bar.
The second one will be bigger and a 4mm magnet will fit in it.

I need to have a Warhound I can put into pieces and transport, and a Warhound I can use on a battlefield for a day or two and not seeing it broken appart.


31/10/2015

Armorcast Warhound #1 - 04


Still working on the warhound with sand paper, supressing mold lines one by one.


I had to create some more tools to work on the spikes.
So Eighties baby !

The toothbrush's a very good tool. You can use it to curve the sand paper or simply clean the dust.

I'm now working with the 800 sand paper and it's good news. I'll soon see the end of this and prepare the base.

24/10/2015

Armorcast Warhound #1 - 03

[IRL]
Posts aren't posted as usual.
The best I can do is to blog every two weeks.

A few weeks ago, I had to move away from my children and their mother.

This is why I don't own a PC anymore.
And it's a bit difficult to keep the same pace.

I'll be back on tracks asap but for now, it's the best I can do.
[/IRL]

Back to work.
First of all : I have to suppress all the mold lines.


Modeling knife isn't the best solution when you have to work on such an old lady.
You have to work her body parts with sand paper.
I'm using 240, 500 and 800.

The 240 is a strong one, which I rarely use.
The 500 is my best tool. It's fine enough to be the main tool.
The 800 is the final paper, the one I use to have a smooth surface.


I created some tools to work with the sand paper and keep the surfaces as "in their original shape" as possible.

I'm using small width wood parts, cutted in different shapes.
The paper's glued on the wood with some double faced tape.
Et voilĂ , you have a cheap -but efficient- set of tools.

Note : you must wear a mask while working with sandpaper.